If you’re tired of static or weak sound quality from your Blue Snowball, you’re not alone. The Blue Snowball is a solid USB microphone for vocals, instruments, podcasting, voiceovers, and interviews, but a few common issues can hold back its sound quality out of the box.
This guide covers what causes those problems and walks through practical fixes to get noticeably better sound from your Snowball.
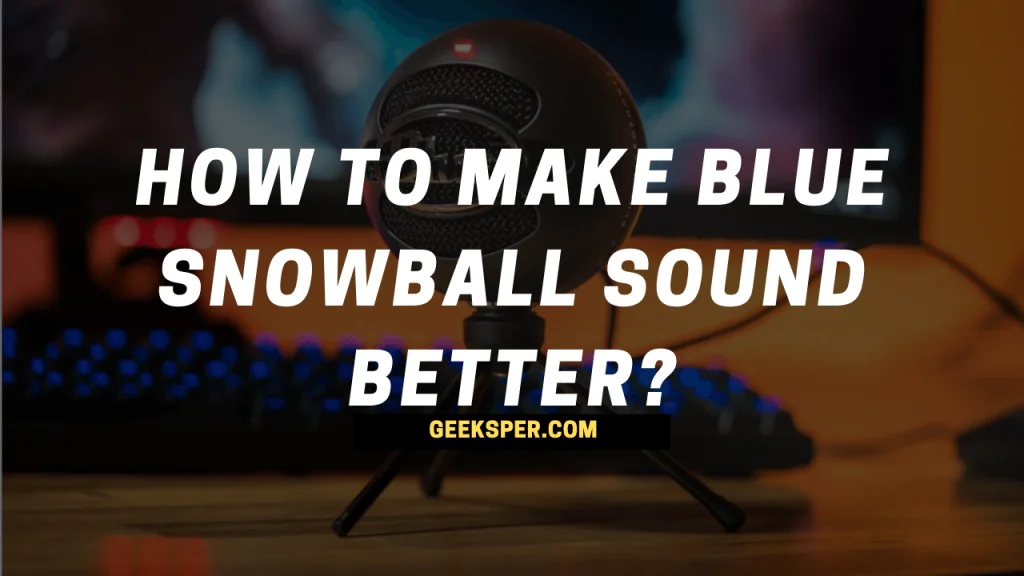
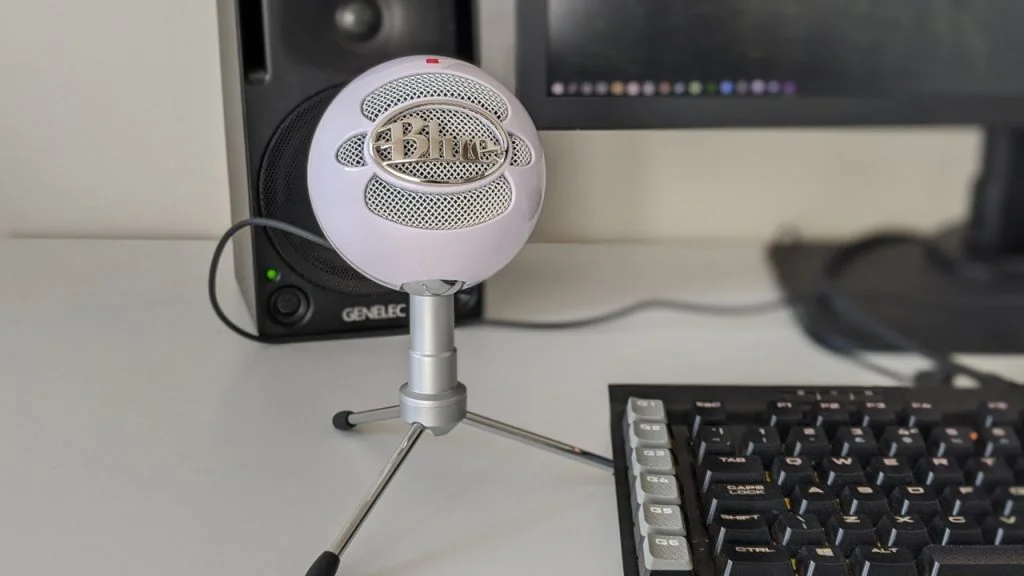
About the Blue Snowball
The Snowball performs well for its price and includes several genuinely useful features that improve the overall recording experience. It’s also a true plug-and-play device, meaning you can connect it to your computer and start recording right away without needing to install any drivers.
Why Doesn’t My Blue Snowball Sound Like a Snowball Should?
Not every Snowball unit sounds the same, even though they share identical specs on paper. Sound quality can vary between individual units for a few reasons.
The two most common complaints from users are a hollow sound that lacks bass, and excessive popping caused by the mic picking up every small puff of breath.
How to Fix Common Blue Snowball Sound Problems
Both of these issues can usually be resolved with simple, low-cost fixes rather than buying a new microphone.
Start by checking the bottom of your mic for a bass-reduction switch. If you find one, make sure it’s set to the off position. If it had been accidentally switched on, turning it off should resolve the hollow sound issue.
Alternatively, you can reduce bass directly from your computer. Open your Control Panel, go to Sound, select the Recording tab, and look for a mic boost or input-level option to adjust. From there, you can also fine-tune your mic volume using the slider, typically found in the bottom-right corner of the settings window.
How to Avoid Popping Noises on a Blue Snowball
Try angling the mic slightly away from your mouth when breathing or making sudden sounds. This keeps stray puffs of breath from hitting the capsule directly and being picked up as unwanted noise.
These two simple adjustments resolve the vast majority of common Snowball sound issues.
How to Make the Blue Snowball Sound Better Overall
Setting Up the Blue Snowball
Setting up the Snowball is straightforward. As a plug-and-play device, you simply connect it to your computer with a USB cable, and even a first-time user can get it running quickly.
Initial Setup Steps
Make sure the USB cable is securely connected to the Blue Snowball on one end, then plug the other end into your computer’s USB port. You should see a red light appear on top of the microphone once it’s properly connected.
Selecting the Right Settings
Since the Snowball works as a plug-and-play device, you can use it on virtually any computer. Connect the USB cable, then open any application that uses audio input. Your operating system should automatically install the necessary drivers, after which the Snowball is ready to use as your active microphone.
Upgrading Your Snowball Setup With Software Filters
Within your recording or chat software, look for a microphone or filters menu, often represented by a gear icon. From there, you can add filters to improve sound quality further. A noise gate filter is particularly useful, since it mutes the mic automatically when you’re not speaking and only activates once you start talking again. This helps prevent the mic from picking up ambient room noise or sounds below a certain volume threshold.
Adding a Shock Mount
The Blue Snowball includes a detachable base, letting you swap the included plastic or rubber disc for an alternative mount. Adding a separate shock mount can help reduce clatter and bumps picked up during use, which improves overall sound quality directly.
The Snowball also comes with a swivel mount near the base of the mic body. Make sure it’s mounted securely on a desk stand for stability. If you want to reduce low-frequency rumble further, mounting it on a dedicated boom arm or stand designed to isolate vibration can help.
FAQ
Can you change Blue Snowball settings?
Yes. Open the Start Menu, go to Control Panel, then Sound. Select the Recording tab, confirm the Blue Snowball is selected as your active input device, and disable any other microphone if needed. Click Properties, go to the Levels tab, adjust your input level, then click Apply and OK.
How do you get rid of background noise on a Blue Snowball?
Start by choosing between the cardioid or omnidirectional setting depending on your recording environment. You can also try placing a pop filter or sound barrier between yourself and the microphone. If background noise persists, noise-canceling software or plugins can help clean things up further.
Why does my Blue Snowball sound too loud?
This is usually caused by using the wrong recording mode, having gain set too high, or recording in windy conditions without a windscreen. Switching to cardioid mode, lowering your gain, and adding a windscreen typically resolves the issue. For more on how gain affects your recordings, see our guide on what is gain on a microphone.
Conclusion
The Blue Snowball is a genuinely simple, capable microphone for sound and voice recording, making it a solid first step for home studios or anyone new to audio recording. Its portability also makes it a practical choice anytime you need to record vocals or messages without investing heavily in gear.
For more on related microphone setups and fixes, see our guides on how to build a vocal booth, how to adjust microphone sensitivity, how to use Soundpad on Discord, and how to record audio on iPhone.