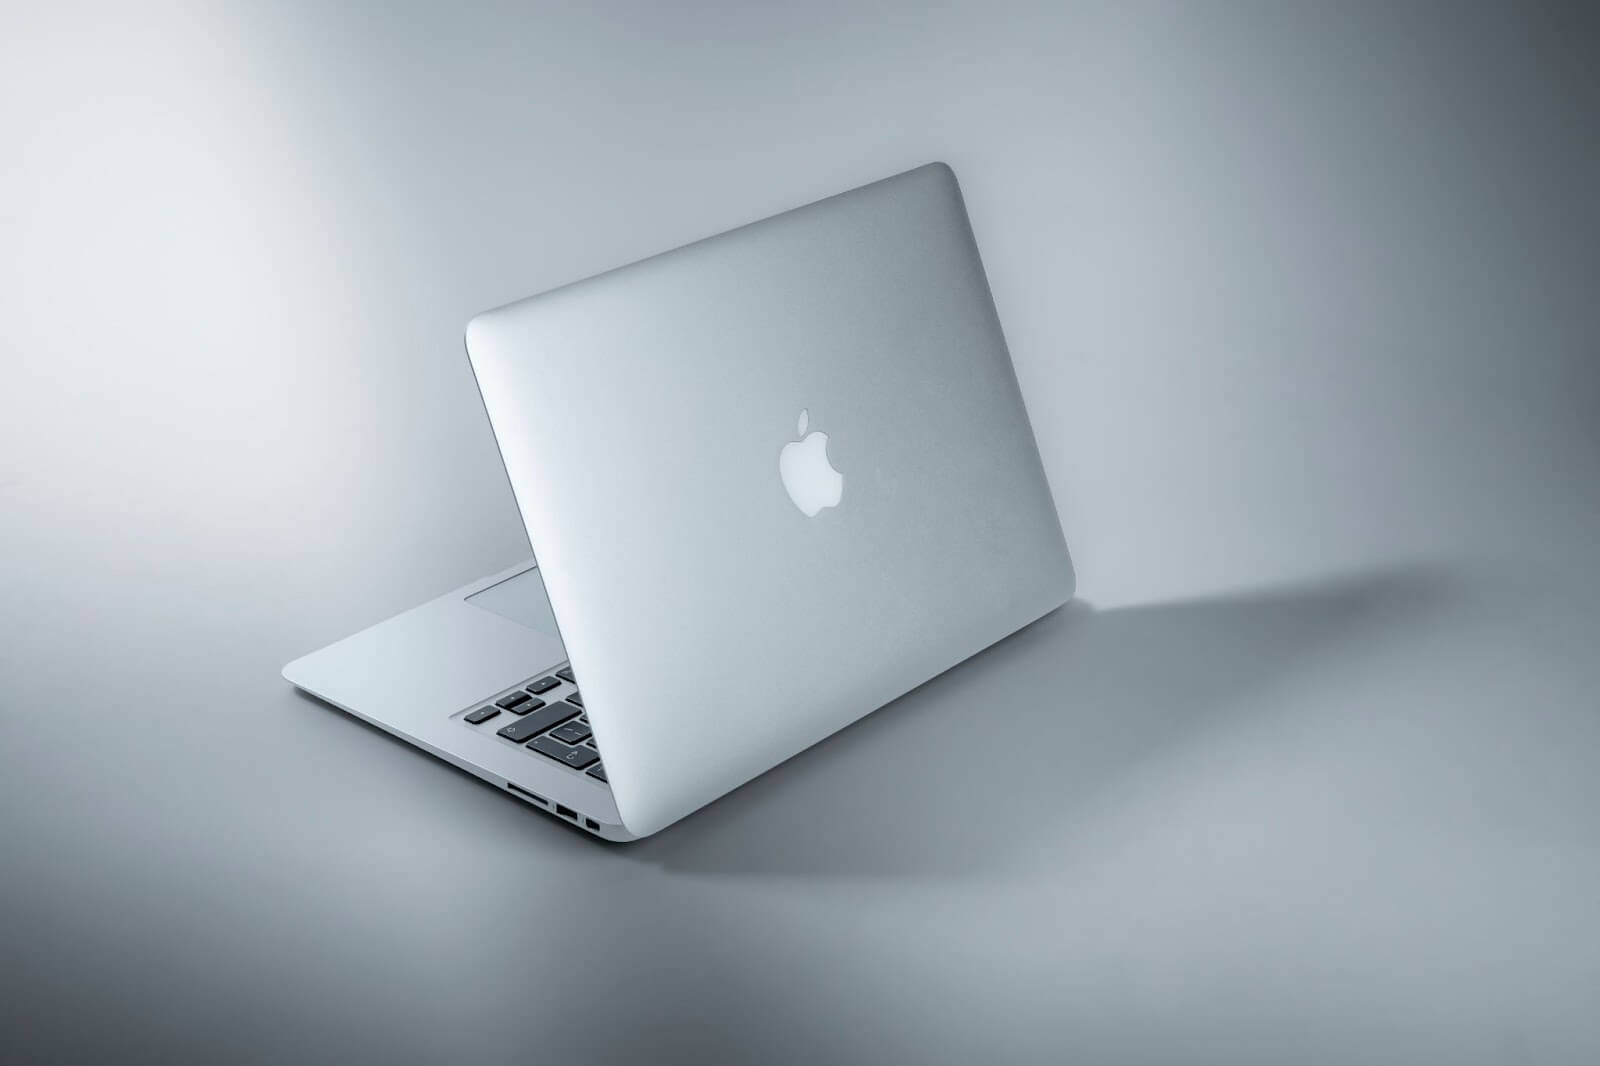
Despite the fact that MacBooks are known for their reliability, users are still likely to run into various issues. The severity of Mac’s performance problems varies depending on multiple factors, including how the owner takes care of the device and how old the model is.
Of course, there are also instances when a problem arises from something unrelated. A good example of that is a malfunctioning microphone on a MacBook. Overall, this particular issue is not as common, but it can still happen.
Let’s take a look at what causes microphone problems on a Mac and how users should address them.
Start With Simple Things
Before you take the computer to a service store, try some simple workarounds. For instance, it could be the lack of configuration that leads to the microphone not working.
Think about whether you have recently downloaded an application that uses a microphone. Discord, Skype, and other similar apps require access, and since they are not part of the macOS environment, it means that these apps are considered to be third-party. This means that they can mess with the native microphone settings, and you need to fix that.
Try Turning the Microphone on
Two-way communication is not going to happen on an application that has no access to the MacBook’s microphone. If the mic is working on native apps and not third-party applications, you have a different problem than the one that was mentioned in the previous section.
Go to System Preferences and click on the Security and Privacy tab. In the Privacy section of the tab, you will see a Microphone on the left side of the window. Clicking on it will bring up the list of applications that can get access to the microphone.
You will then need to checkmark the box next to an app you want to enable the microphone access to. That should be enough to solve the problem of no mic access to third-party applications. Also, make sure you quit an app before giving it microphone access. If you do not, the workaround will fail.
Test the Microphone
As a rule of thumb, it is recommended to test the microphone as it often helps determine the source of the problem.
There is no need for a third-party tool to take the MacBook’s microphone for a spin. Use the built-in QuickTime Player app and start a new recording. If the mic is okay, you should be able to hear yourself after the recording. Do not be alarmed by the white noise in the background, by the way. That is expected.
So, if the microphone itself is fine after the test, the issue lies somewhere else. And if not, then you need to seek solutions, and that is exactly what we will cover below.
Solution #1 – PRAM Reset
Let’s start with PRAM reset. You might have heard how restarting a computer often solves some problems.
A PRAM reset is similar but a bit more complicated. Instead of a simple restart, you will need to shut down the MacBook. Once the computer turns off, press the power button simultaneously with Command + Alt + P + R (yes, all at the same time), and hold for about 20 seconds.
After 20 seconds, release the keys, and the MacBook should start with its PRAM reset.
Solution #2 – System Junk
Too much system junk is a common cause of different performance issues on computers. Keep an eye on the system data storage and remove it regularly, even if you are not encountering problems with the microphone. It is just that good of a piece of advice.
In case you become fed up with deleting files manually, get a cleanup utility tool and automate the task with it instead.
Finally, remember that the more free space there is on a computer’s drive, the better its overall performance will be. And that includes fewer potential issues, the microphone problem not being an exception.
Solution #3 – Dictation
The Dictation tab is located in the Keyboard setting you can find in System Preferences. Enabling Dictation initiates the system to look for missing drivers and other data that could be causing problems with the microphone. If there are important pieces missing, Dictation will find and download them to the MacBook, which should solve the microphone issue.
Solution #4 – Settings Configuration
Settings configuration was already mentioned in the early part of the article. Low input and output could be the result of tinkering someone else did or a third-party app messing with the entire configuration.
Access the Sound settings via System Preferences and configure with both Input and Output tabs and test the microphone after.
Solution #5 – Launch Agents
Redundant background processes hog system resources, but that is not the only downside. What is known as Launch Agents can clash with each other and snowball out of control.
Think of random and invisible app updaters that run without supervision and become a hindrance.
At the very least, scan the MacBook’s system for potential Launch Agents and see whether you locate any. If you do, disable them.
Conclusion
Try out all the above-given solutions and you will most probably solve the issues that you are getting on your Macbook’s microphone.
Do let us know if you know of any other solution that works well for you, we will surely add them to the above list. Until then, check out some of our other best articles here:
Easy Hacks To Improve Microphone Sound Quality
How To Stop Microphone From Picking Up Keyboard Noise
How To Enable Microphone On Remote Desktop?
UHF vs VHF wireless microphone systems
USB VS 3.5mm Microphone: Which One Is Better? And Why?
